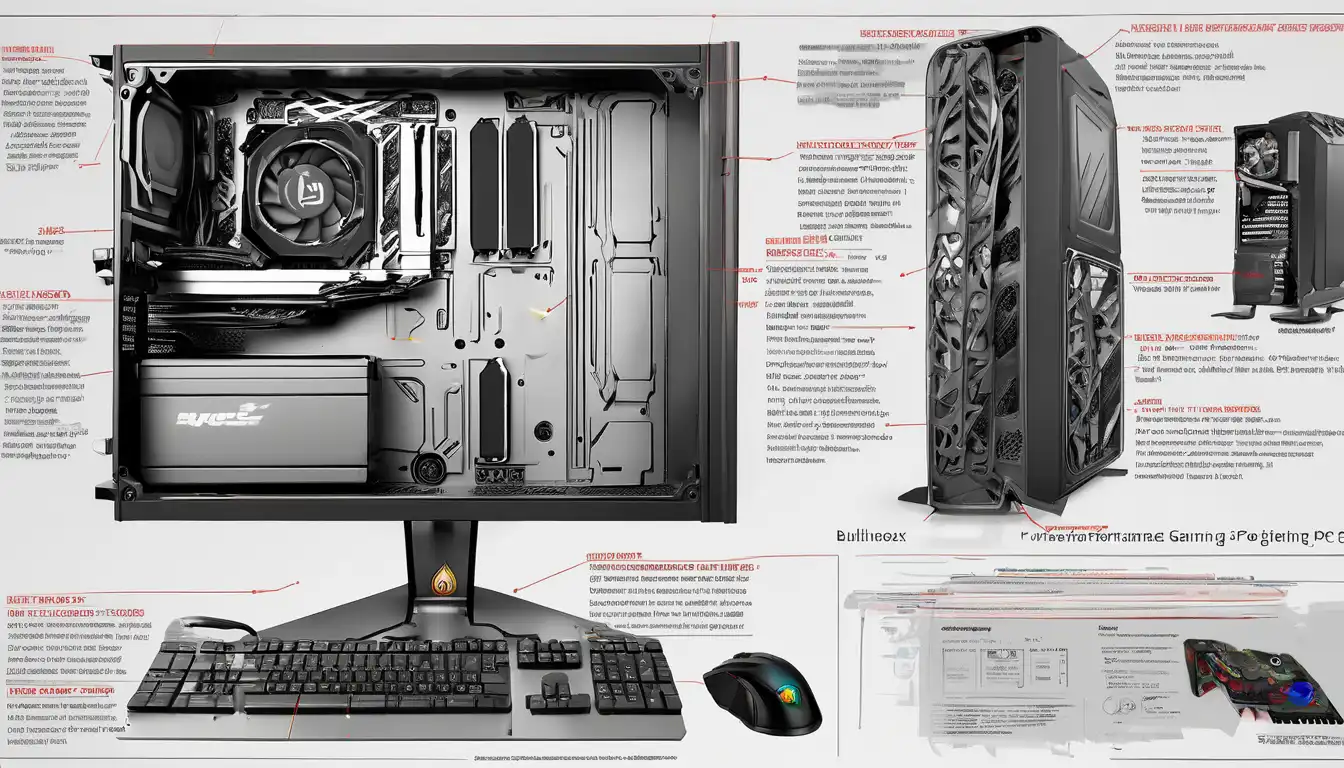
Introduction to Gaming PC Building
Building your own high-performance gaming PC is an exciting journey that combines technical knowledge with creative expression. Unlike pre-built systems, custom gaming computers offer unparalleled flexibility, better value for money, and the satisfaction of creating something uniquely yours. This comprehensive guide will walk you through every step of building a powerful gaming rig that can handle the latest AAA titles and future-proof your gaming experience.
Essential Components for Your Gaming PC
Processor (CPU)
The CPU serves as the brain of your gaming computer, handling game logic, physics calculations, and AI processing. For modern gaming, we recommend processors from Intel's Core i5/i7/i9 series or AMD's Ryzen 5/7/9 lineup. Consider factors like core count, clock speed, and thermal design power when selecting your CPU. Higher-end processors provide better future-proofing and multitasking capabilities.
Graphics Card (GPU)
Your graphics card is arguably the most critical component for gaming performance. NVIDIA's RTX series and AMD's Radeon RX cards dominate the market. Look for cards with sufficient VRAM (8GB minimum for modern gaming) and consider your target resolution and refresh rate. High-end GPUs enable features like ray tracing and DLSS, significantly enhancing visual fidelity.
Memory (RAM)
Modern gaming requires substantial memory resources. We recommend starting with 16GB of DDR4 or DDR5 RAM as a baseline, with 32GB being ideal for future-proofing. Pay attention to memory speed and latency timings, as these can impact gaming performance. Dual-channel configurations typically offer better performance than single-channel setups.
Storage Solutions
Combine NVMe SSD storage for your operating system and games with larger capacity HDDs for media storage. SSDs dramatically reduce load times and improve system responsiveness. Consider PCIe 4.0 NVMe drives for maximum performance, especially if your motherboard supports this technology.
Building Your Gaming PC Step by Step
Preparation and Safety
Before beginning assembly, ensure you have a clean, static-free workspace. Gather all necessary tools including screwdrivers, cable ties, and thermal paste. Always ground yourself by touching a metal surface before handling components to prevent electrostatic discharge damage.
Motherboard Installation
Start by installing the CPU, RAM, and M.2 drives onto the motherboard before placing it in the case. Apply thermal paste carefully if not pre-applied to your CPU cooler. Secure the motherboard using the provided standoffs and screws, ensuring proper alignment with the I/O shield.
Power Supply and Cable Management
Install your power supply unit (PSU) according to your case's design. Modular PSUs make cable management significantly easier. Route cables neatly to ensure optimal airflow and aesthetics. Proper cable management not only looks professional but also improves thermal performance.
Cooling System Setup
Whether using air cooling or liquid cooling, ensure proper mounting pressure and thermal paste application. Position case fans to create positive air pressure, reducing dust accumulation. Consider additional cooling solutions if planning to overclock your components for maximum performance.
Optimizing Your Gaming PC Performance
BIOS Configuration
After assembly, enter your motherboard's BIOS to enable XMP/DOCP profiles for optimal RAM performance. Update your BIOS to the latest version for improved stability and compatibility. Configure fan curves to balance noise levels and cooling efficiency.
Driver Installation and Updates
Install the latest drivers for your graphics card, chipset, and other components from manufacturer websites. Keep your drivers updated regularly for optimal performance and security. Consider using driver management software to simplify this process.
Windows Optimization
Configure Windows power settings for maximum performance and disable unnecessary startup programs. Optimize your graphics settings through NVIDIA Control Panel or AMD Radeon Software. Regularly update your operating system and game clients for the best experience.
Troubleshooting Common Issues
Boot Problems
If your system fails to boot, check all power connections and ensure components are properly seated. Listen for beep codes or check diagnostic LEDs on your motherboard. Reseat RAM modules and clear CMOS if necessary to resolve compatibility issues.
Performance Optimization
Monitor temperatures using software like HWMonitor or MSI Afterburner. Ensure all components are running within safe temperature ranges. Consider undervolting or adjusting clock speeds if experiencing thermal throttling or instability.
Future-Proofing Your Investment
When building a gaming PC, consider future upgrade paths. Choose a motherboard with ample connectivity options and expansion slots. Invest in a quality power supply with sufficient headroom for future component upgrades. Regularly clean your system and maintain proper cable management to ensure longevity.
Conclusion
Building a high-performance gaming PC is a rewarding experience that delivers exceptional value and customization options. By carefully selecting components, following proper assembly procedures, and optimizing your system, you can create a gaming rig that exceeds pre-built alternatives in both performance and satisfaction. Remember that PC building is an ongoing journey – stay informed about new technologies and continue optimizing your system for the best gaming experience.
For more detailed information about specific components, check out our gaming hardware reviews and advanced building techniques. If you're considering upgrades, our compatibility guide can help you make informed decisions.
